Guide
How to brew great coffee
Great coffee is not luck, it is a small set of variables handled with a bit of care. The same beans can taste sour and thin or sweet and syrupy depending only on how you grind, measure, and pour them. This guide walks through the fundamentals once, then gives you a practical, honest method for brewing well at home, whatever gear you own.
The four levers of extraction
Brewing coffee is really just controlled dissolving. Hot water pulls soluble compounds out of ground coffee, and how much it pulls, and which compounds come out first, decides whether your cup tastes sweet and balanced or sharp and hollow. Every brewing decision you make comes back to four levers: grind size, ratio (how much coffee versus how much water), time (how long the water and coffee are in contact), and temperature. Change one and the other three often need to shift to compensate.
It helps to know what the two failure modes actually taste like, because it turns guesswork into diagnosis. Under-extraction happens when not enough has been pulled from the grounds, usually from too coarse a grind, too little contact time, or water that is too cool. The result tastes sour, sharp, salty, or thin, with a short finish and none of the sweetness the roaster intended. Over-extraction is the opposite problem: too much has come out, often from too fine a grind, too long a brew, or water too hot, and it tastes bitter, dry, ashy, or astringent, sometimes with a hollow, papery quality that lingers unpleasantly.
A well extracted cup sits between those two, and tastes balanced, sweet, and clean, with a finish you actually want another sip of. Nobody nails it first try, and that is fine. Treat every brew as a small experiment: taste it properly, decide which failure mode it leans towards, and adjust one lever at a time rather than three at once, or you will never know what actually fixed it.
Grind size and why it matters
Grind size controls how much surface area of the coffee is exposed to water, and surface area is what drives extraction speed. A coarse grind has less surface area per gram, so water moves through it quickly and pulls out less in a given time, which is why methods with long contact times, like cold brew or French press, use a coarse grind. A fine grind has huge surface area, extracting fast and hard, which suits short, high pressure methods like espresso. Use the wrong grind for the method and you get sourness or bitterness no amount of fiddling with time or temperature will fully fix.
Consistency matters as much as the average size. A cheap blade grinder chops beans unevenly, leaving a mix of dust-fine "fines" next to coarse "boulders" in the same basket. The fines over-extract and turn bitter while the boulders sit there under-extracted and sour, at the same time, in the same cup, which is exactly the muddy, confusing flavour that puts people off filter coffee. A decent burr grinder crushes beans between two surfaces to a much narrower, more even particle size, and it is genuinely the single best upgrade you can make to home coffee, ahead of a fancier kettle or a new brewer.
As a rough map: extra coarse suits cold brew, coarse suits French press, medium-coarse suits batch filter machines, medium suits pour-over, medium-fine suits AeroPress, and fine to very fine suits espresso and moka pot. Treat these as starting points, not laws, since roast level, bean density, and your particular grinder will nudge the ideal setting around.
The golden ratio and dialling in your brew
The "golden ratio" is just the weight of water divided by the weight of dry coffee, and it is the fastest way to get a cup in the right strength zone before you worry about anything else. For filter style brewing (pour-over, batch filter, AeroPress, French press) a ratio between 1:15 and 1:17 is the standard starting range, meaning 15 to 17 grams of water for every gram of coffee. Espresso lives in a completely different, much more concentrated zone, typically around 1:2, so an 18 gram dose of ground coffee produces roughly 36 grams of liquid espresso in the cup.
Use a digital scale rather than scoops or "eyeballing it". Coffee varies enormously in density between roasts and origins, so a level scoop can quietly swing your ratio by twenty or thirty percent without you noticing, which is more than enough to turn a sweet cup sour or bitter. Weigh both the dry coffee and the water (or the liquid output, for espresso), every time, until it becomes automatic.
Dialling in simply means tasting what you have brewed and nudging one variable to fix what is wrong, then brewing again. If a cup tastes sour or thin, try a finer grind, a longer brew time, or slightly hotter water. If it tastes bitter or harsh, try a coarser grind, a shorter time, or slightly cooler water. Keep a rough note of grind setting, ratio, and time for each bag of beans, since dialling in is bean-specific: a light, dense natural-process coffee and a soft, dark roasted blend often want noticeably different settings even in the same brewer.
Water quality and temperature
Water makes up around ninety eight percent of the finished cup, so its quality is not a minor detail, it is most of the drink. Heavily chlorinated tap water brews coffee that tastes flat or faintly like a swimming pool, while very hard, mineral-heavy water can make a cup taste chalky or muted. A basic carbon filter jug removes most chlorine and off-flavours without stripping out the minerals that actually help extraction, and it is a cheap fix that improves every brewing method at once. Avoid pure distilled or reverse-osmosis water on its own, since coffee genuinely needs some dissolved minerals, particularly magnesium, to extract properly and taste full rather than watery.
Temperature is the other half of the water conversation. Most brewing methods do best somewhere between 92 and 96 degrees Celsius. Water that is too cool under-extracts and tastes flat and sour, since it simply cannot pull enough flavour out in the time available. Water at a full rolling boil, 100 degrees, can scorch delicate, lighter roasted coffees and pull out harsh, papery bitterness, especially with pour-over methods where the grounds are exposed to that first pour directly.
If you do not own a temperature-controlled kettle, boil your water and then let it sit off the heat for roughly thirty to forty five seconds before pouring. That is usually enough to bring it down into the 92 to 96 degree range. It is a small habit that costs nothing and noticeably smooths out harsh, over-extracted flavours in filter coffee.
Espresso
Espresso is coffee brewed fast and concentrated, forcing hot water through a tightly packed puck of very finely ground coffee under roughly nine bars of pressure. Start with a dose of around 18 grams of ground coffee for a double shot, aiming for about 36 grams of liquid espresso in the cup, a 1:2 ratio, extracted in roughly 25 to 32 seconds. Water temperature at the group head typically sits around 93 to 95 degrees Celsius.
Preparation matters enormously at this scale, because espresso has almost no margin for unevenness. Distribute the grounds evenly in the basket before tamping, using a finger swirl or a distribution tool (often called WDT, a few fine pins stirred through the grounds) to break up clumps, since any channel of loose coffee will let water rush through it, under-extracting that path while the tightly packed coffee around it over-extracts. Tamp firmly and level, then lock in and pull the shot without delay, as ground espresso coffee stales within seconds of grinding.
A good shot runs slowly and steadily, never gushing thin and fast or dripping in slow, dark drops, and settles with a reddish-brown crema on top. Taste it on its own before judging: it should be sweet and syrupy up front with a pleasant, lingering finish, not sharply sour (usually too fast a shot, too coarse a grind, or too little coffee) or harshly bitter (usually too slow, too fine, or too much coffee packed in).
Pour-over and the V60
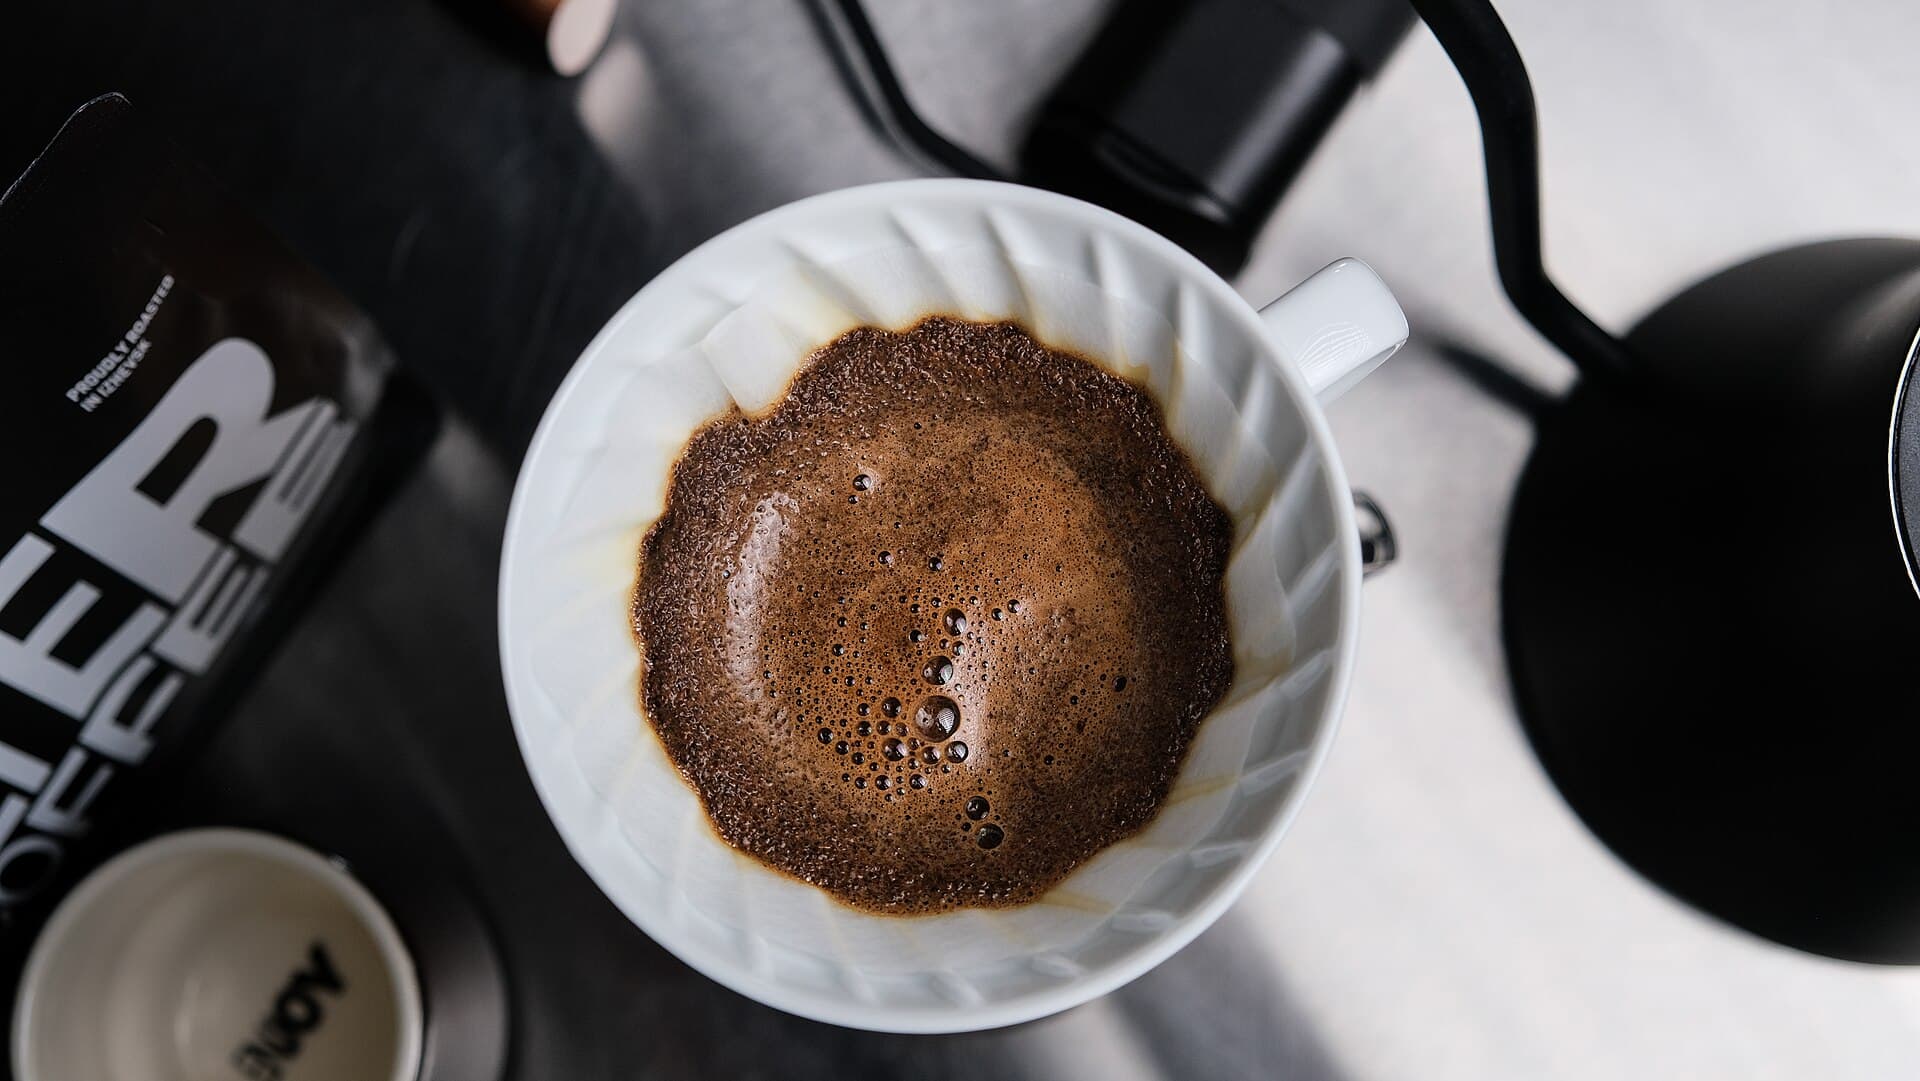
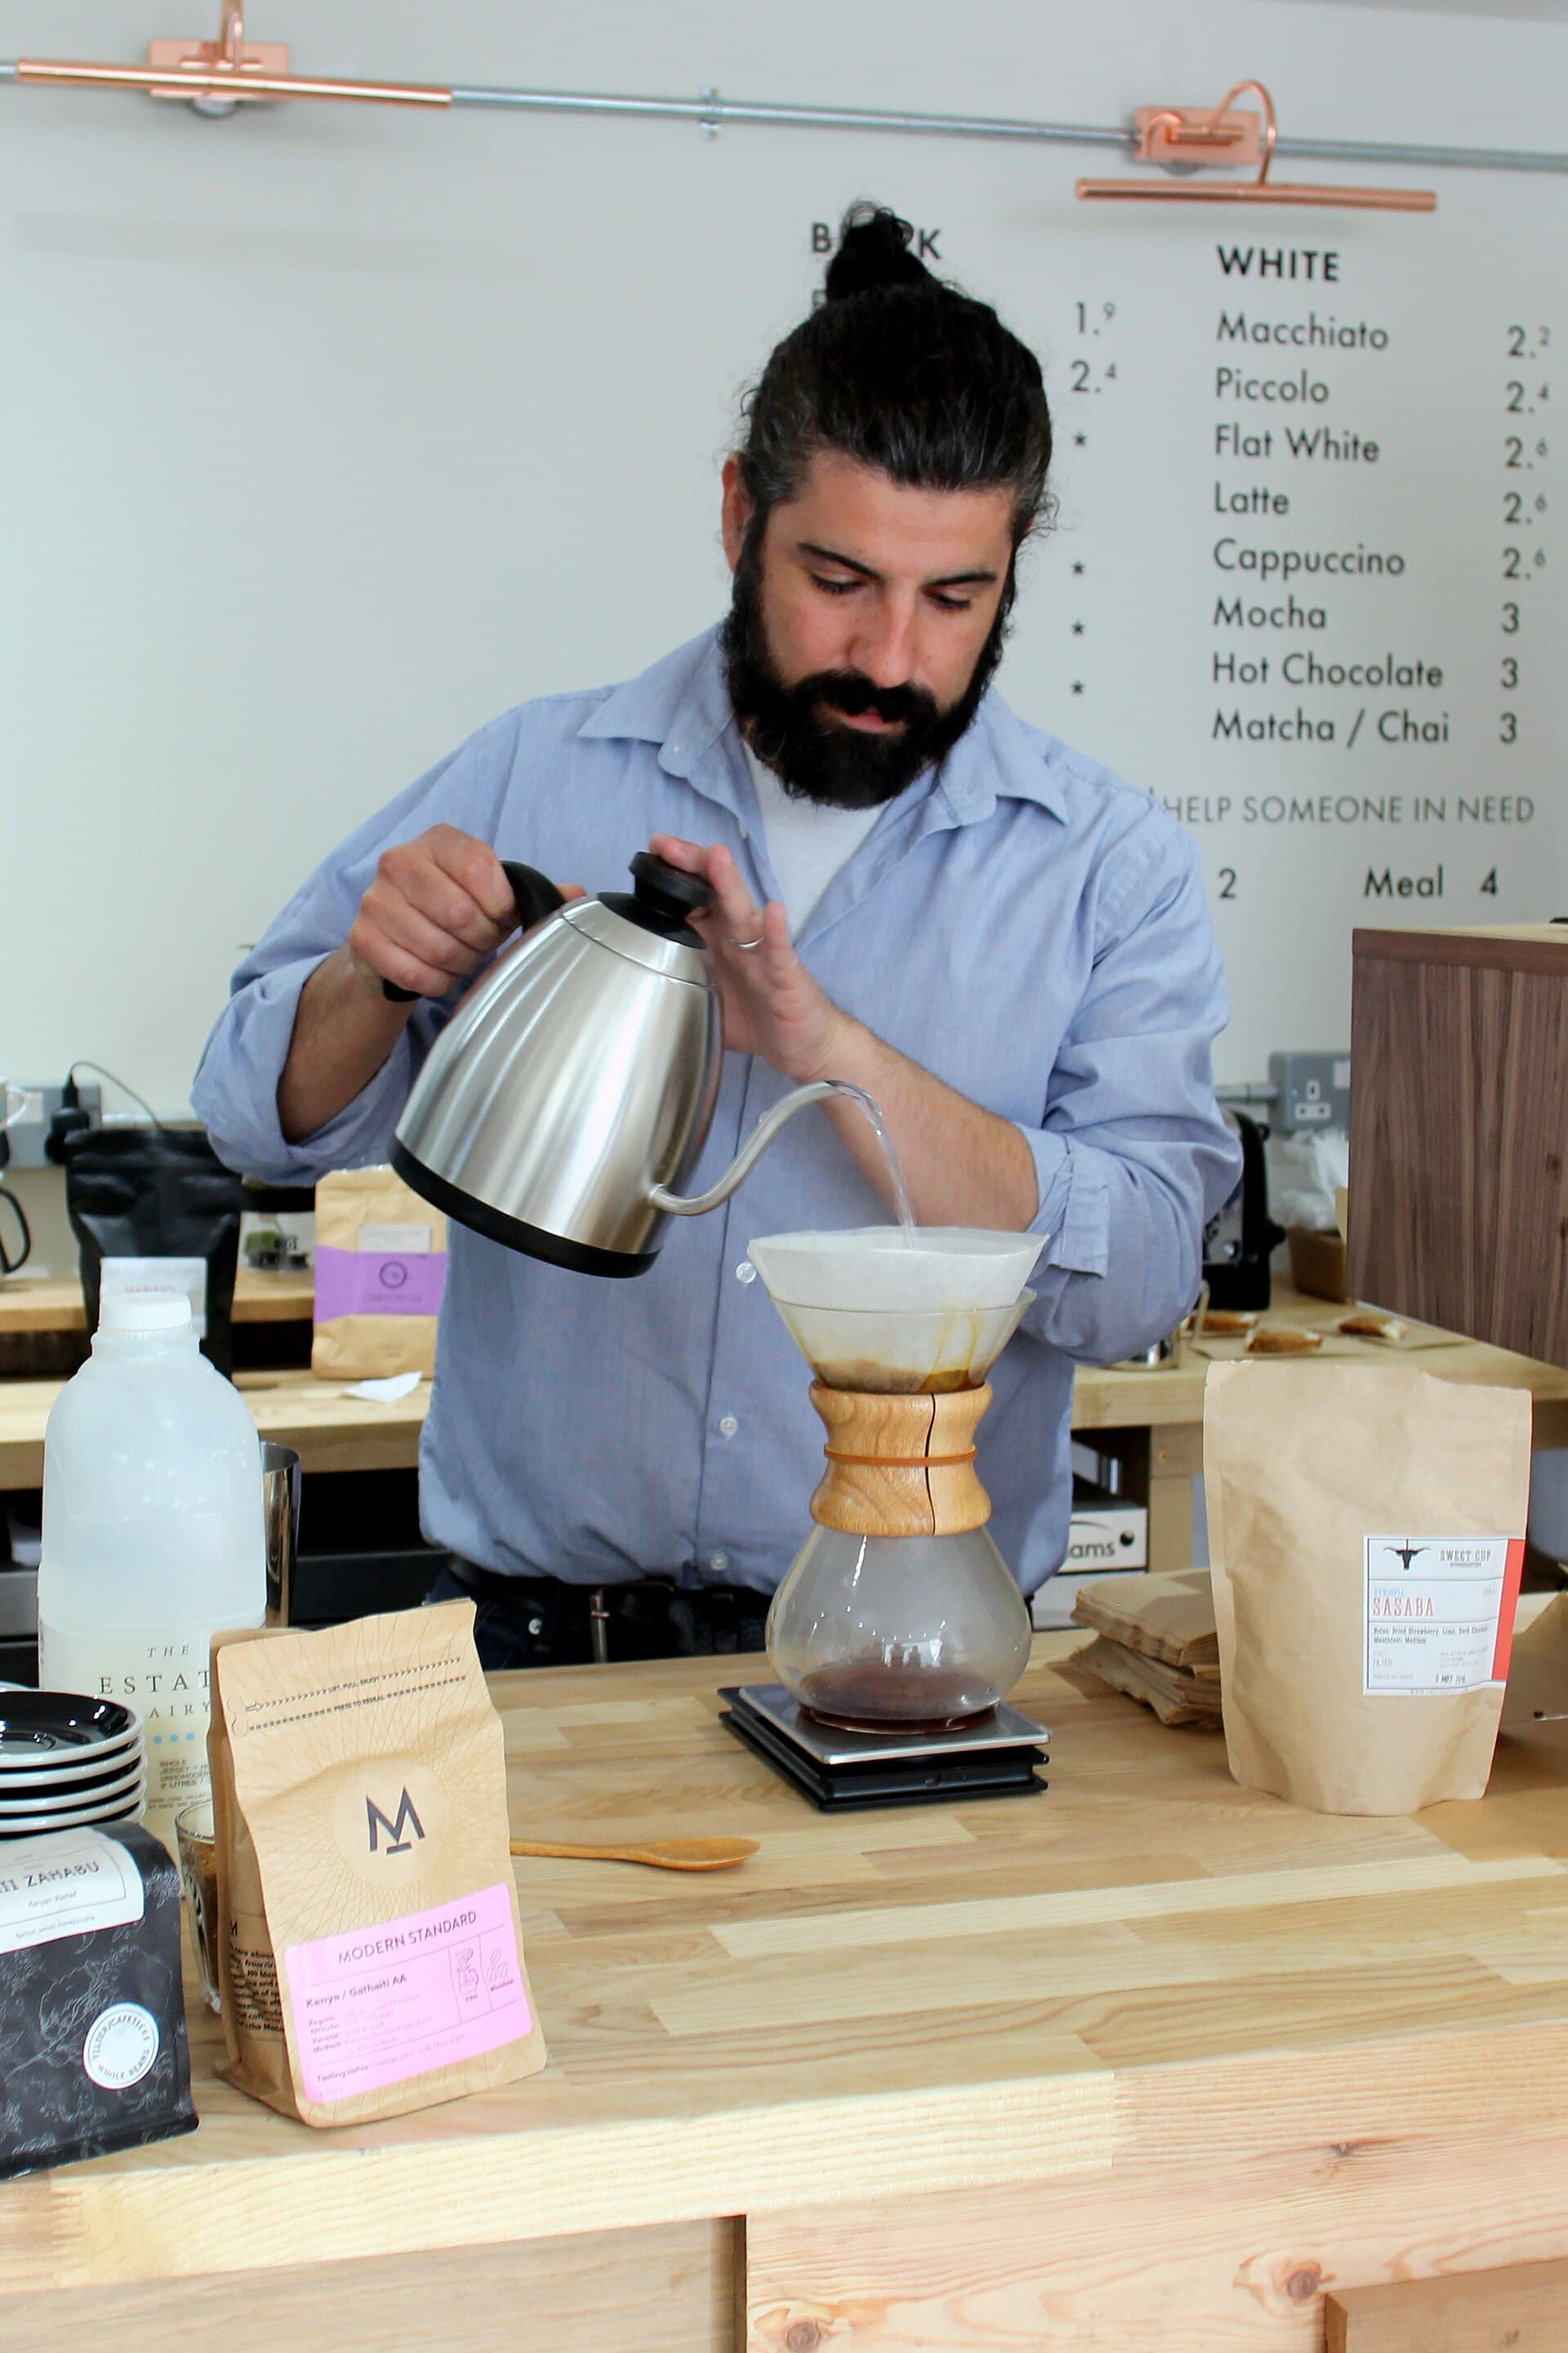
Pour-over is manual filter brewing, and the V60, with its large single hole and spiral ribs, is the most common cone in specialty cafes because it rewards a careful pour with real clarity in the cup. Use a medium grind, a ratio of about 1:15 to 1:16 (for example 15 grams of coffee to 225 to 240 grams of water), and water at 94 to 96 degrees Celsius.
Rinse the paper filter with hot water first to remove any papery taste and to warm the vessel, then add your ground coffee and level the bed. Start with a bloom: pour roughly double the coffee's weight in water (around 30 to 45 grams for a 15 gram dose), just enough to saturate the grounds, and let it sit for 30 to 45 seconds. You will see it swell and bubble as trapped carbon dioxide escapes, particularly with fresher coffee.
After the bloom, pour the remaining water in two or three slow, circular stages, keeping the water level fairly steady rather than draining right down between pours. Aim for a total brew time of around two and a half to three and a half minutes from first pour to the last of the water draining through. A finished brew that runs much faster usually needs a finer grind next time, and one that drags on and tastes bitter usually needs a coarser one.
Batch filter
Batch filter is the workhorse behind most cafe filter coffee and any home drip machine, brewing a larger volume in one go rather than cup by cup. It uses a flat-bottom basket rather than a cone, a medium-coarse grind, and the same 1:16 to 1:17 golden ratio as other filter methods, just scaled up, for example around 60 grams of coffee to a litre of water.
The advantage of a decent batch brewer is consistency: a good machine controls water temperature and pour rate automatically, giving every cup from the batch the same extraction rather than relying on a steady hand each time. Look for one with a built-in pre-infusion or bloom stage, since batch brewers that just dump all the water on at once tend to channel and extract unevenly, the same problem loose tamping causes in espresso.
Total brew time for a full batch is usually around five to six minutes. If it consistently runs faster or slower than that with the same grind setting, that is a sign the machine's flow rate or shower head is uneven rather than a fault with your recipe, and worth checking before you keep adjusting grind size to compensate.
French press
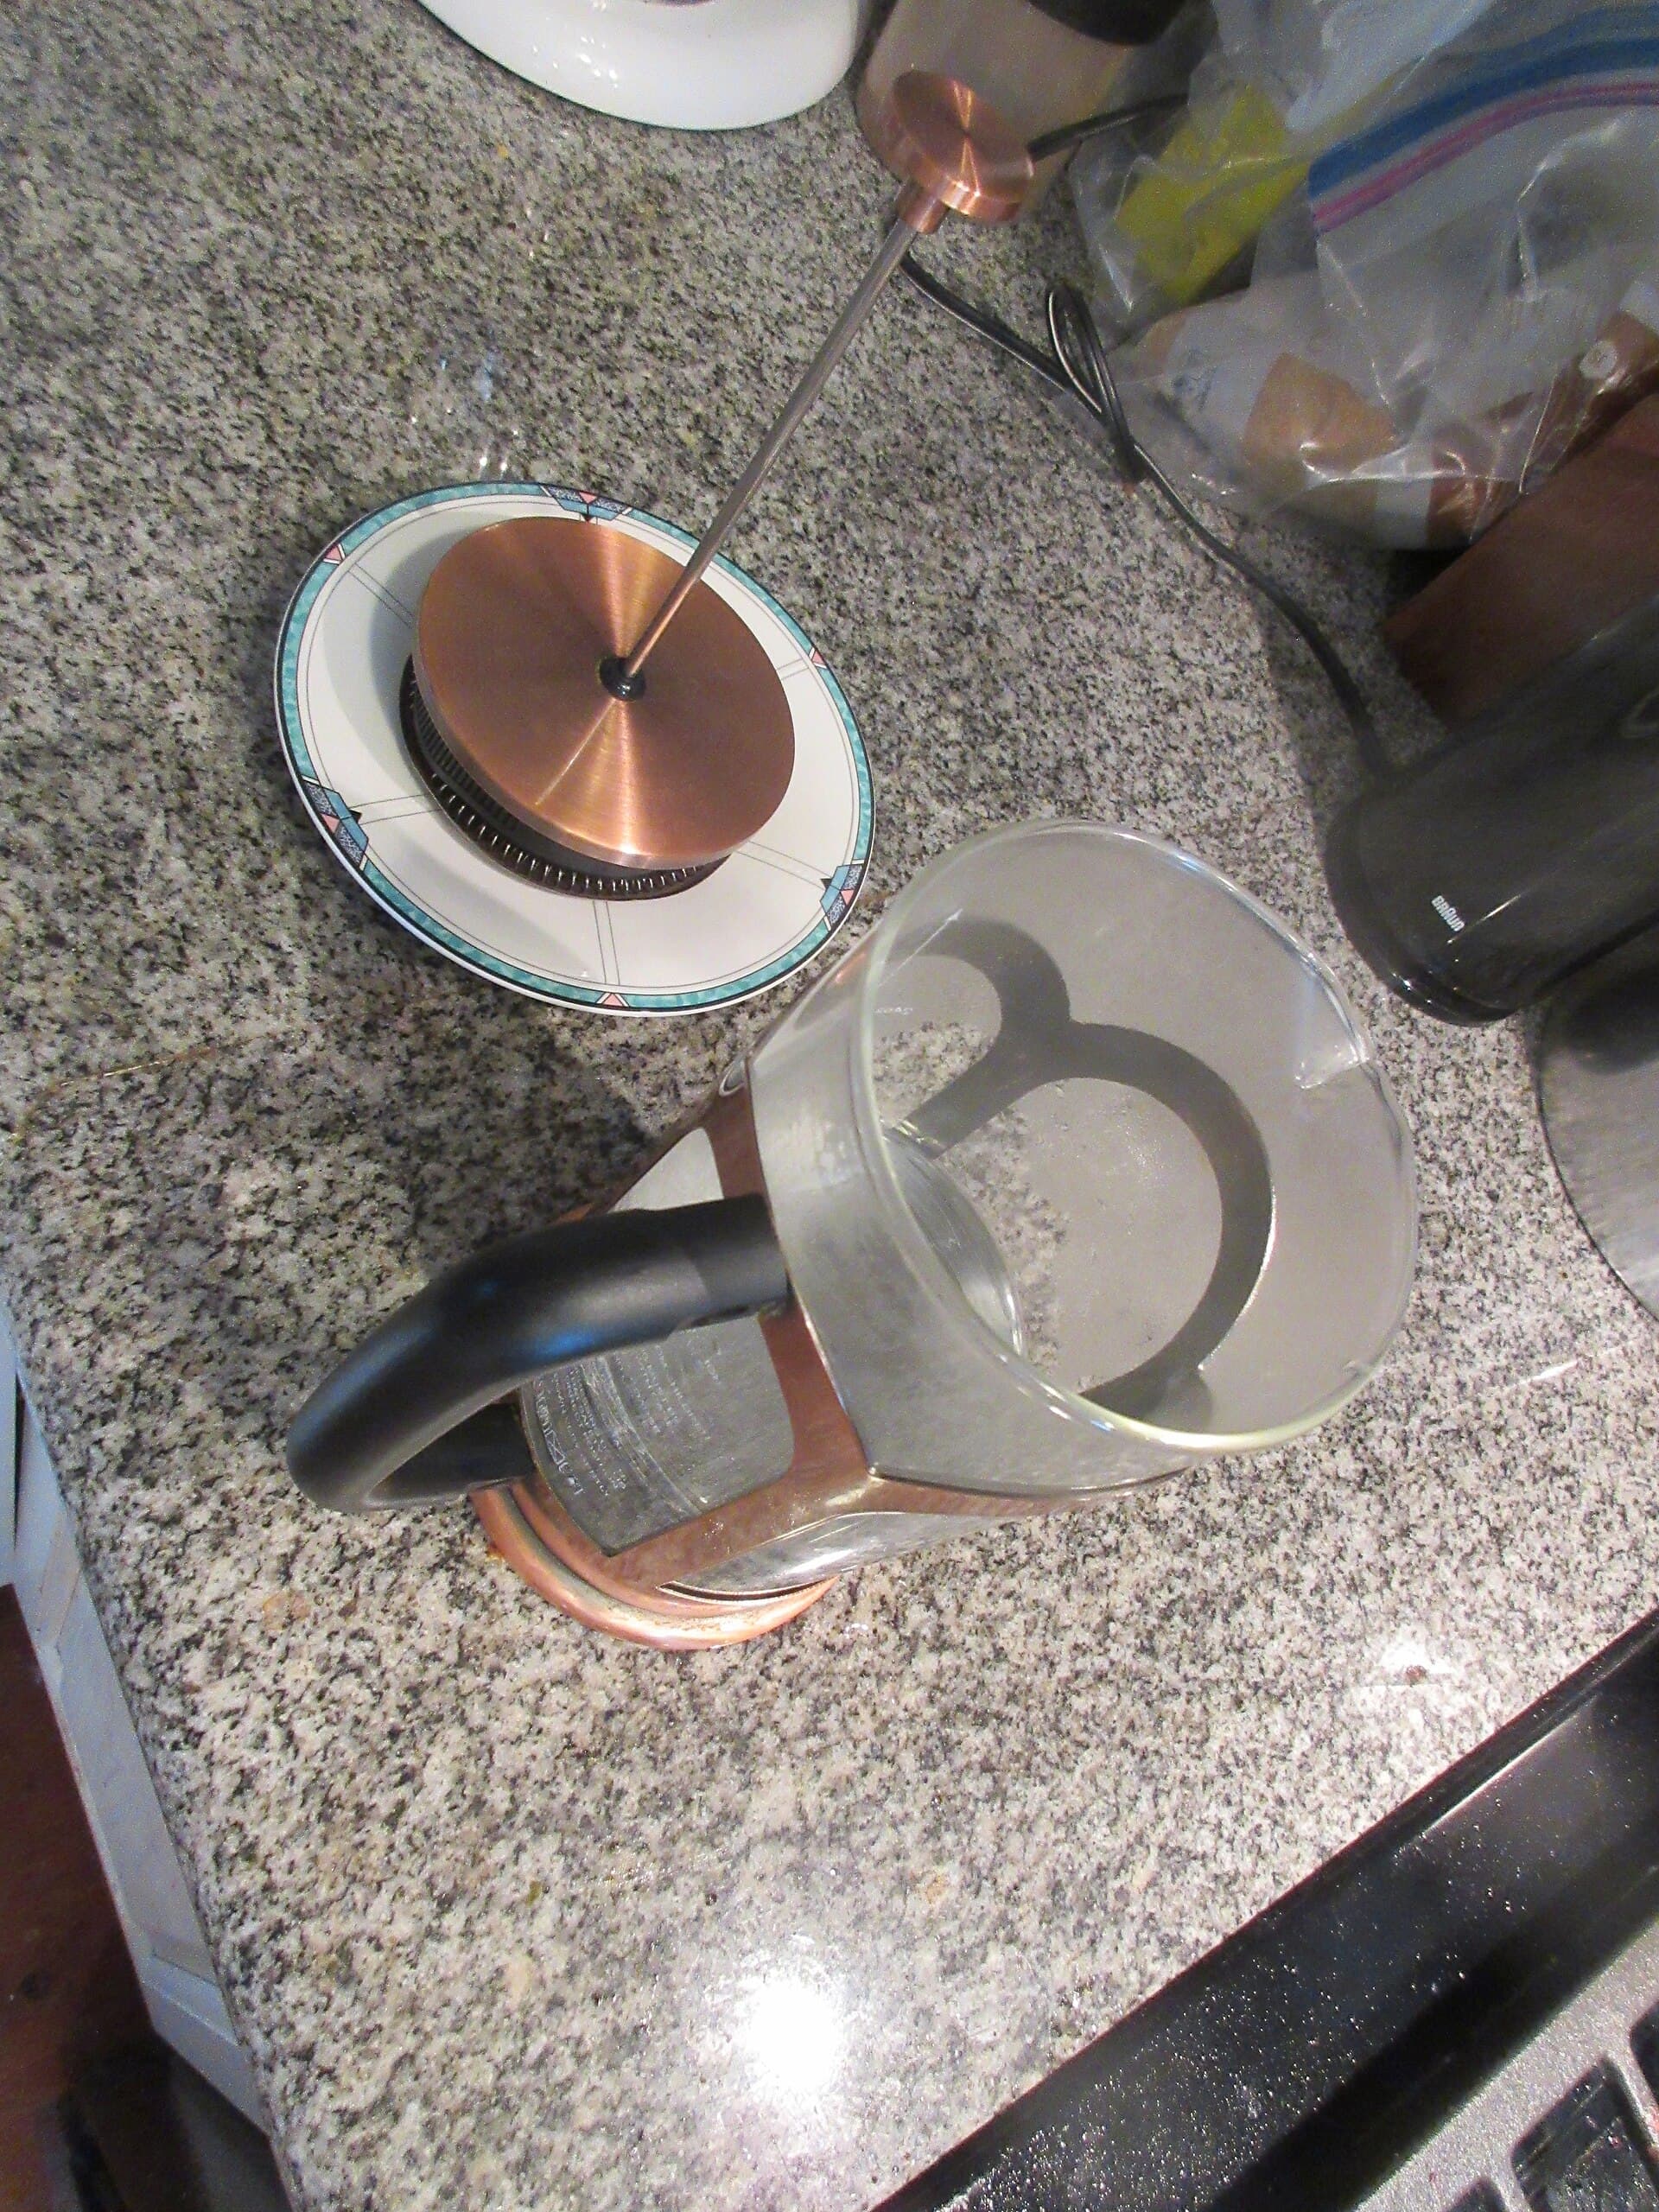
French press, also called a cafetiere, is full immersion brewing: coffee and water sit together for the whole brew rather than water passing through, and there is no paper filter, so more of the coffee's natural oils and fine particles make it into the cup. That gives French press coffee its characteristic heavier body and fuller mouthfeel, along with a small amount of sediment at the bottom of the cup, which is normal rather than a mistake.
Use a coarse grind, since anything finer will slip through the mesh plunger and leave the cup gritty, and a slightly stronger ratio than other filter methods, around 1:12 to 1:15 (for example 30 grams of coffee to 400 to 450 grams of water). Pour all the water over the grounds at once at around 94 to 96 degrees Celsius, give it a gentle stir, and let it steep for about four minutes.
At four minutes, break the crust of grounds that has formed on top with a spoon, skim off any floating bits of foam, then let it rest for a further thirty seconds before slowly pushing the plunger down. Pour immediately once plunged, since leaving coffee sitting on the grounds even after plunging will keep extracting and turn bitter within a few minutes.
AeroPress
The AeroPress is a small, forgiving, plastic immersion-and-pressure brewer that punches well above its size and price, and it travels better than almost anything else on this list. Use a medium-fine grind, similar to table salt, and a ratio of roughly 1:15, for example 15 grams of coffee to 225 grams of water, at around 92 to 94 degrees Celsius.
There are two common set-ups: standard, where the AeroPress sits on your cup with the filter cap on the bottom from the start, and inverted, where it is brewed upside down first and flipped onto the cup just before pressing, which allows a longer steep without any dripping through early. Either way, add the coffee, pour the water, stir gently for around ten seconds to make sure all the grounds are wet, and let it steep for one to two minutes.
Fit the filter cap with a paper or metal filter (rinsed first if paper, to avoid a papery taste), then press down slowly and steadily over twenty to thirty seconds. A press that suddenly gets very hard to push usually means the grind is too fine or too much coffee is packed in; one that plunges with almost no resistance suggests the opposite. The AeroPress tolerates a wide range of recipes well, so it is a genuinely good place to start experimenting with ratio and time without wasting much coffee.
Moka pot
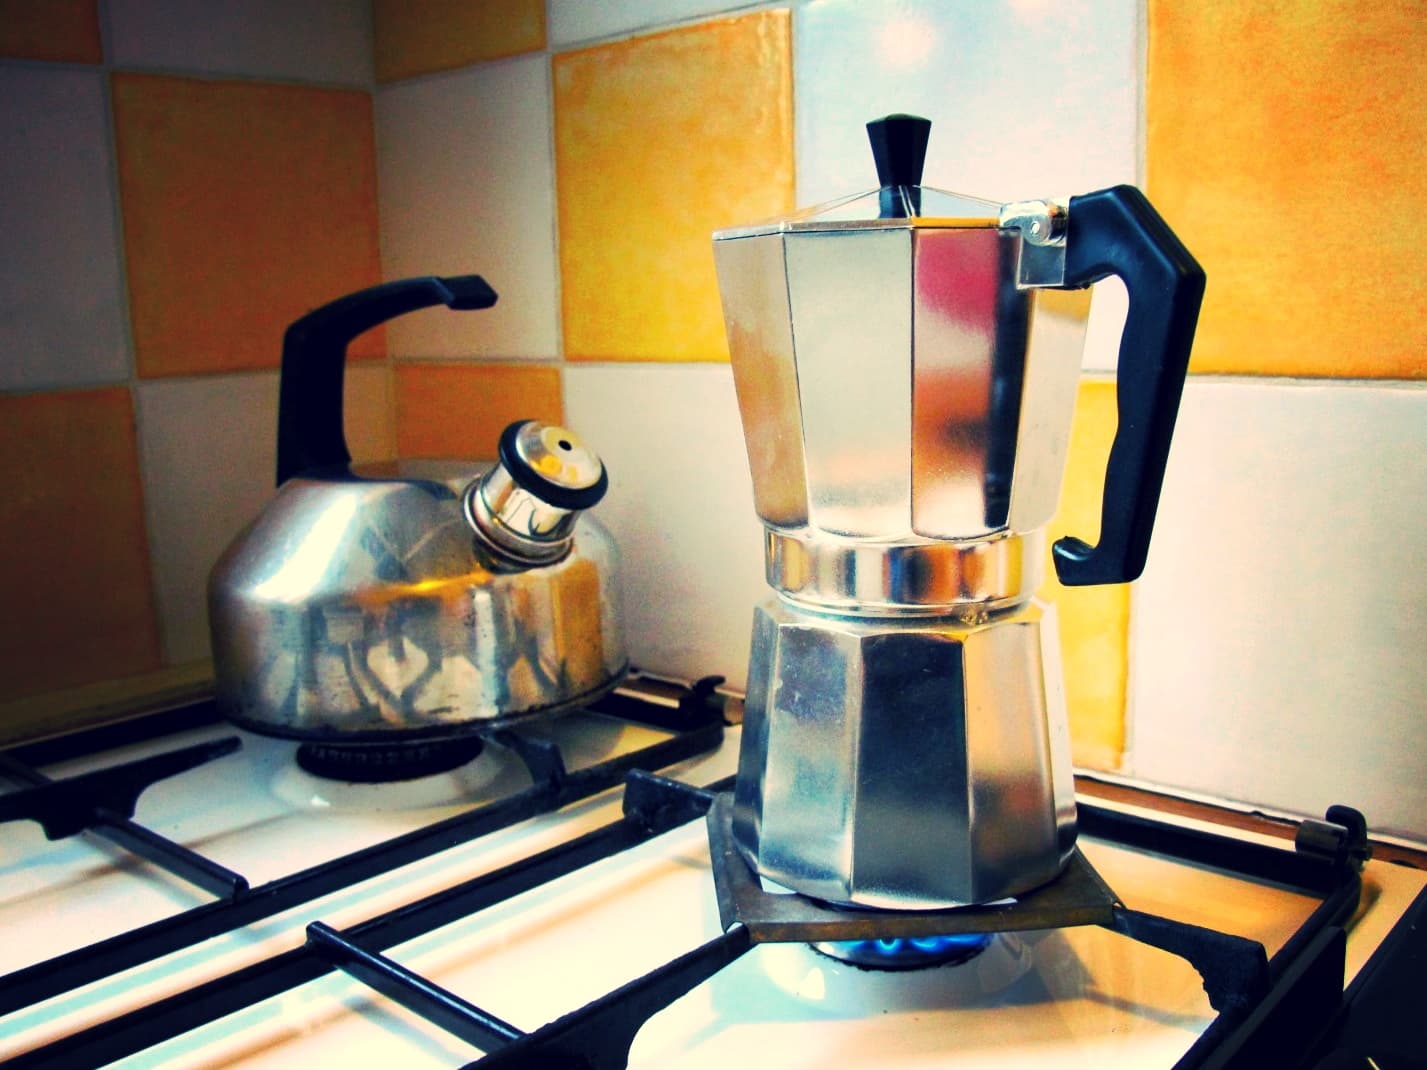
The moka pot is the classic stovetop brewer found in kitchens across Italy and well beyond, and it makes a small volume of strong, concentrated coffee through steam pressure rather than a pump. Fill the bottom chamber with water up to just below the safety valve, and fill the metal basket with medium-fine ground coffee, level but not tamped down, since packing it tight can choke the flow and cause the pot to stall or, in rare cases, cause pressure to build somewhere it should not.
Use a grind noticeably coarser than espresso but finer than pour-over, since moka pots have neither the pressure of an espresso machine nor the free-flowing drain of a filter cone. Assemble the pot and place it on low to medium heat with the lid open so you can watch it, since high heat rushes the brew and tends to scorch the coffee, producing a burnt, bitter result rather than the sweet, syrupy cup a slower brew gives you.
You will hear a change in sound, usually described as a gurgle or hiss, as the last of the water pushes through as steam. Take the pot off the heat at that point and, ideally, run the base briefly under cold water or stand it on a damp cloth to stop the brewing instantly. Moka pot coffee is strong and intense, closer to espresso than filter coffee in character, and works well either on its own in a small cup or with milk.
Cold brew
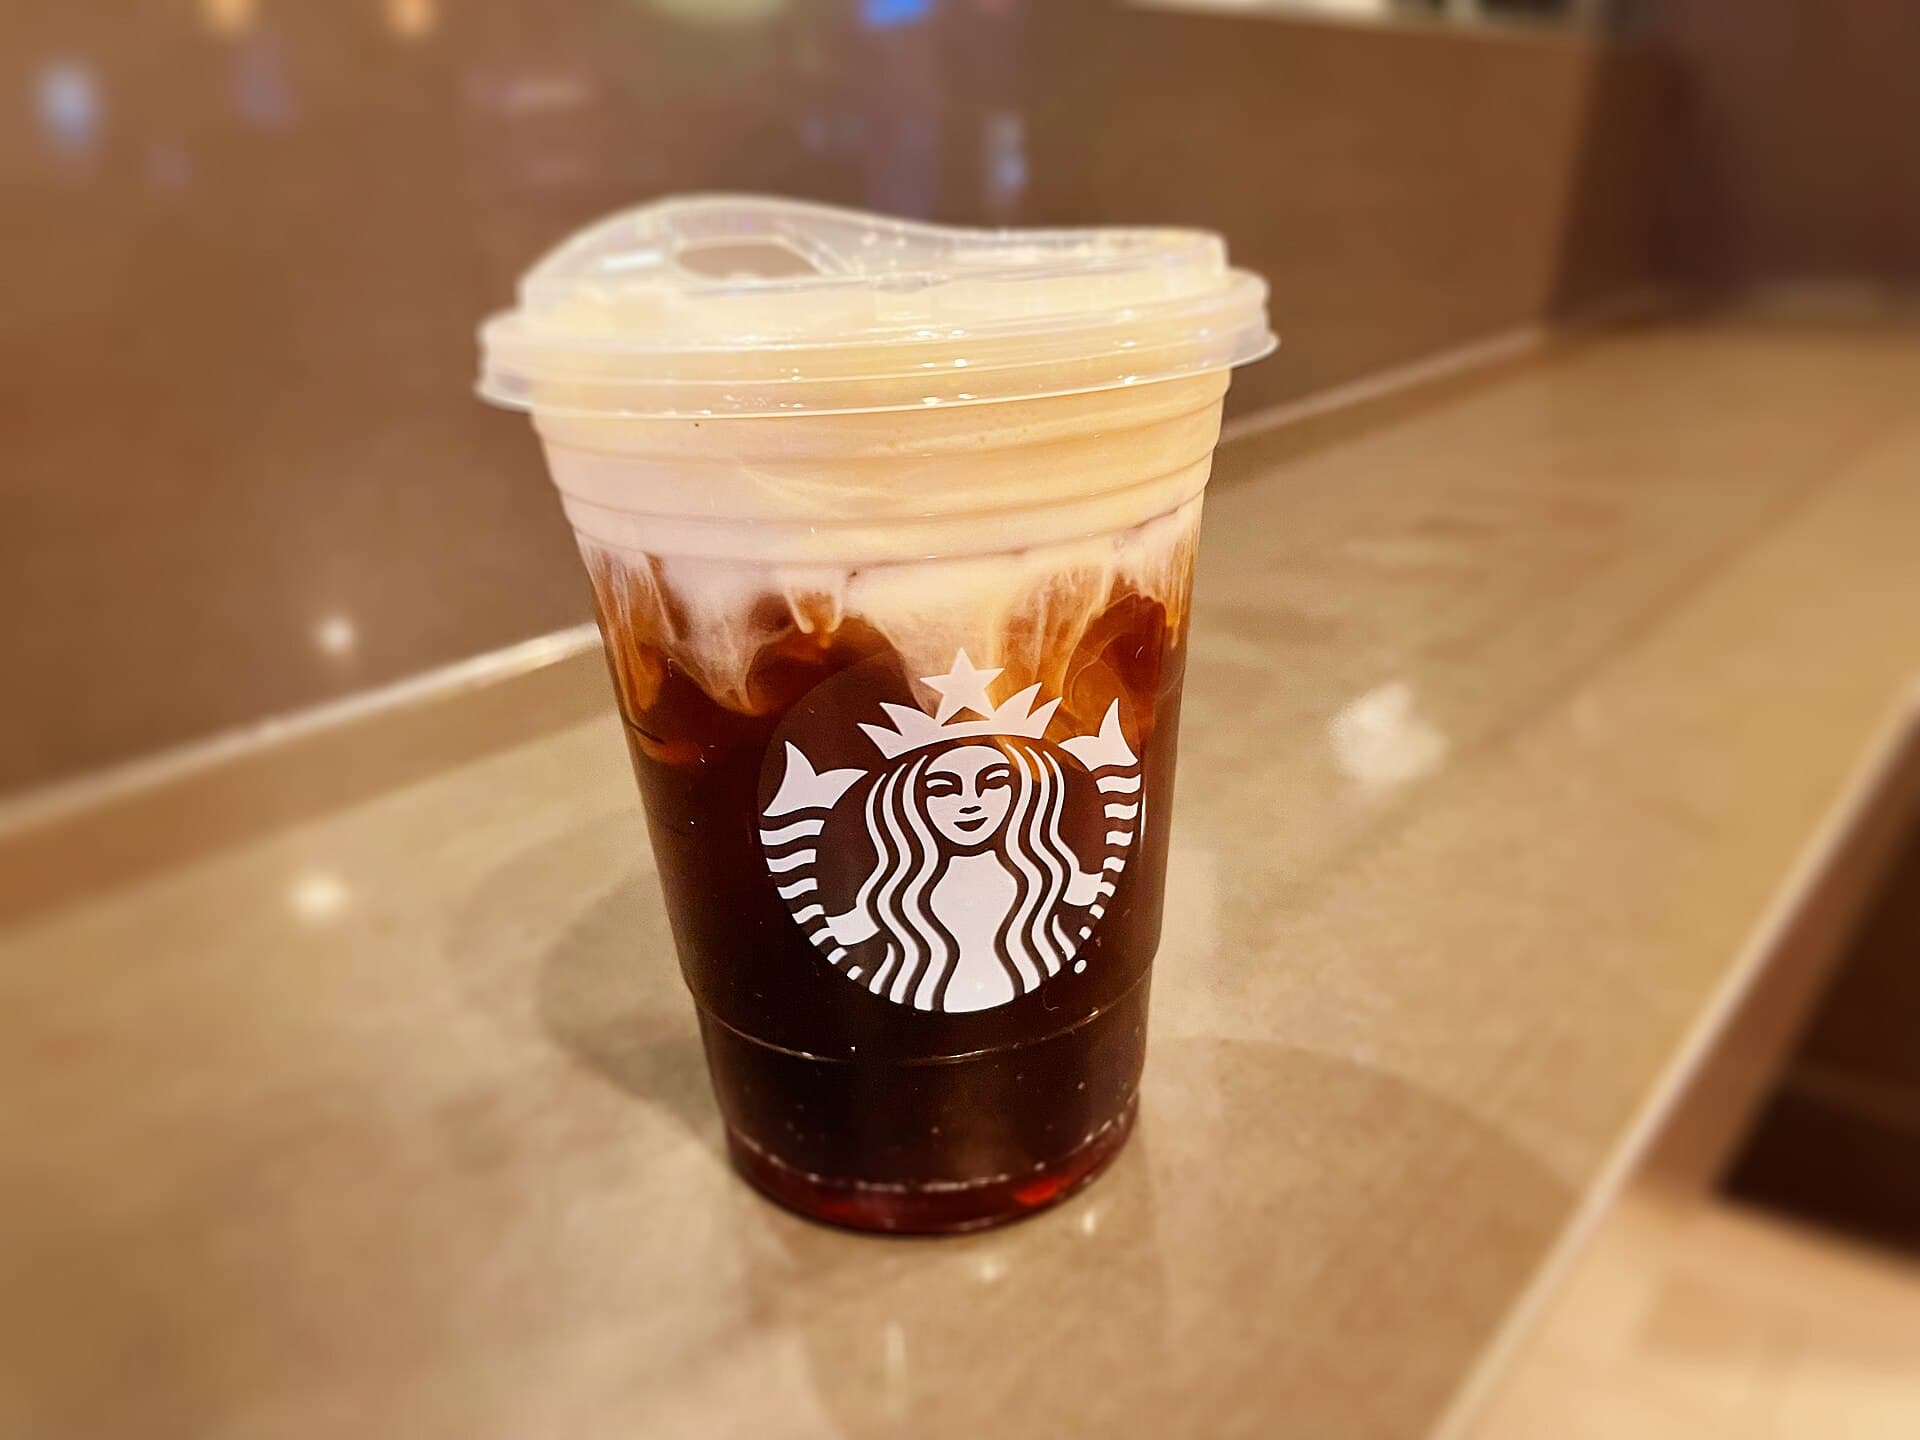
Cold brew is a long, slow, room temperature or fridge-temperature steep rather than a hot brew served cold, and the difference matters: without heat driving extraction quickly, cold brew pulls out fewer bitter and acidic compounds, giving a naturally smoother, sweeter, lower-acid cup that keeps well for days.
Use a coarse grind, similar to or slightly coarser than French press, since the long steep time means a finer grind risks over-extracting into bitterness even at cold temperatures. For a concentrate you will dilute later, use a strong ratio around 1:8 (for example 100 grams of coffee to 800 grams of water), and steep for 16 to 20 hours in the fridge or somewhat less at room temperature. If you would rather brew it at drinking strength straight away, use a gentler ratio closer to 1:15 and steep for a similar length of time.
Strain through a paper filter or a few layers of muslin or cloth, ideally in two passes, since even a coarse grind leaves fine sediment that a single strain will not fully catch. Dilute concentrate with roughly equal parts water, milk, or sparkling water to taste, over ice, and keep any leftover concentrate refrigerated, where it holds its flavour well for around a week to ten days.
Milk drinks, from flat white to magic and piccolo
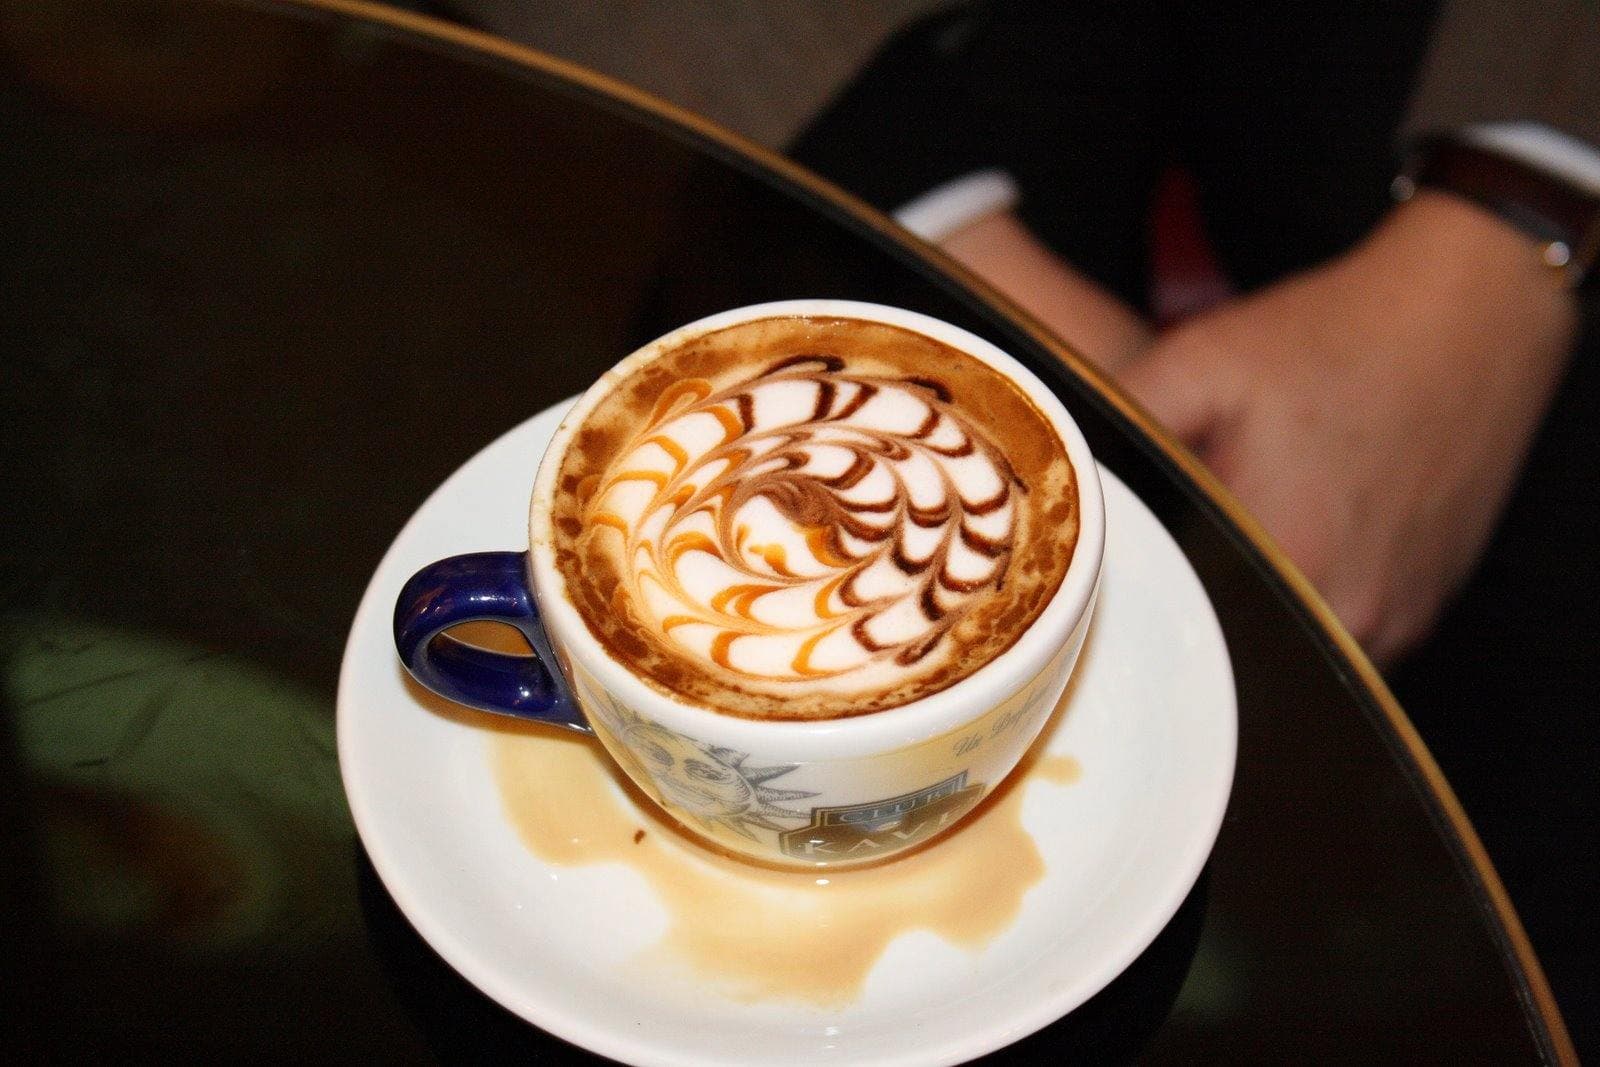
Once you can pull a decent shot, the milk side of the equation is about texture as much as recipe. Steam milk to a smooth, glossy "microfoam" rather than a dry, bubbly foam: stretch the milk briefly at the start of steaming to introduce a little air near the surface, then plunge the steam wand tip deeper to spin the milk into a tight, silky whirlpool with no visible large bubbles. Properly steamed milk looks like wet paint and pours in a thick ribbon, which is what makes latte art possible at all.
A flat white, an Australian and New Zealand invention from the early 1980s, is a short, strong drink: a ristretto or double shot with a thin layer, around five to eight millimetres, of very fine microfoam, giving a velvety texture and a flavour where the coffee still leads. A latte uses the same shot but a larger volume of milk and an even thinner layer of foam, making for a milder, milkier drink better suited to those who find straight espresso intense. A cappuccino sits between them in size but not in texture, built on roughly equal thirds of espresso, steamed milk, and a deliberately thicker, airier foam cap, traditionally finished with a dusting of cocoa or cinnamon.
Two distinctly Australian variations round out the list. The magic, believed to have originated in Melbourne, is a double ristretto shot with silky microfoam in a cup somewhere between a flat white and a piccolo in size, giving a smaller, more intense, more coffee-forward drink than a standard flat white. The piccolo, or piccolo latte, is essentially a miniature latte: a single ristretto shot with steamed milk served in a small, roughly 100 millilitre glass, popular with people who want the sweetness and texture of milk without a large volume of it.
Getting started at home
If you are starting from nothing, spend your money in this order: a decent burr grinder first, then a digital scale, then a brewer. A mid-range burr grinder paired with a cheap plastic V60 will comfortably out-brew an expensive machine fed by a blade grinder, because grind consistency is the foundation everything else sits on.
Buy beans from a local roaster rather than a supermarket shelf where possible, and check for a roast date rather than a best-before date. Coffee tastes best from roughly one to four weeks after roasting: too fresh and it can taste unsettled and gassy, too old and it turns flat and stale regardless of how well you brew it.
Pick one method to begin with rather than trying everything at once. Pour-over and AeroPress are both cheap, forgiving, and quick to give you feedback on whether a change actually helped, which makes them good places to learn the four levers before branching out into French press, moka pot, or cold brew. Taste your coffee black first, before adding milk, so you learn to recognise what a bean actually tastes like and can tell over-extraction from under-extraction rather than just tasting "milk with coffee in it". Keep a simple note of grind setting, ratio, and time for each bag, and treat every cup as useful data rather than a pass or fail.